
Search Results Page (PrestaShop)
The Search Results Page is the full page shoppers see after submitting a search query. It contains the product grid, filters, sorting, pagination, and no-results state.
Use this page when your store uses Classic Results Page or Widget + Results Page mode. In pure Search Widget mode, shoppers stay inside the widget flow and the dashboard hides the standalone Results Page settings.
For the shared concept model, see Search Results Page.
Where to find it
Section titled “Where to find it”In the PrestaShop back office:
- Open Modules -> Module Manager.
- Find Kea Labs Search Pro in the module list.
- Click Configure on the module row.
- The embedded Kea Labs dashboard opens inside the Configure page.
- Open UI Settings -> Integration.
- Select Classic Results Page or Widget + Results Page and save.
- In the sidebar, open UI Settings -> Search Results Page.
The page route is /search/settings/result-page.
If the store is set to Search Widget, this route redirects to Search Box because there is no separate full results page to configure in that mode.
What the page shows
Section titled “What the page shows”The Search Results Page has two sub-tabs.
| Sub-tab | What it controls |
|---|---|
| Interface | Shopper-facing layout and behavior for the full results page: product visibility, product count, grid density, device preview, and results/no-results state preview. |
| Integration | The storefront URL used for full search results and the CSS selector of the element where Kea renders the results grid. |
In Classic Results Page mode, the Search Box page may be labelled as Search Dropdown because it controls the input/dropdown flow that sends shoppers to the full results page. The Results Page itself is configured on this page.
Interface sub-tab
Section titled “Interface sub-tab”Use Interface for the visible results layout. The current page lets you preview desktop/mobile states and switch between normal results and no-results state while adjusting the page controls.
Typical controls include product display, maximum products, products per row, and card behavior. The exact controls can change with the active search experience configuration.
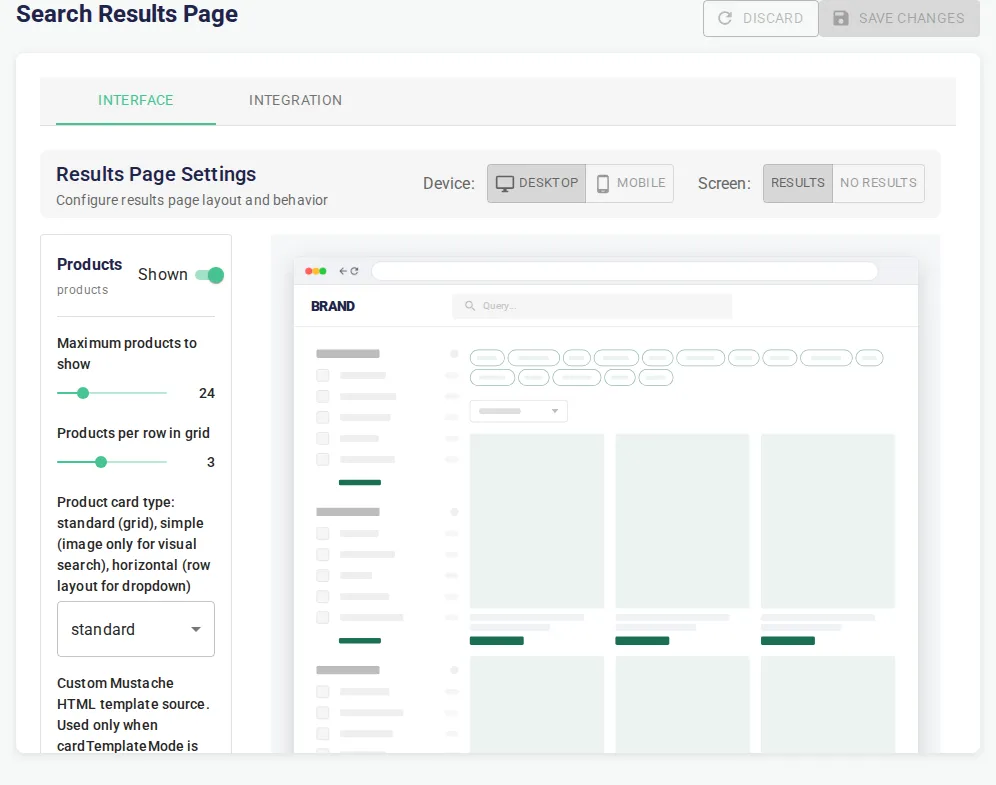
This screenshot shows the Interface sub-tab for the full Search Results Page in the real PrestaShop Configure iframe.
Integration sub-tab
Section titled “Integration sub-tab”Use Integration when the results page opens at the wrong URL or Kea renders into the wrong storefront element.
The current page exposes two fields:
| Field | What it does |
|---|---|
| Results Page URL | The storefront path opened when shoppers submit a full search, for example /search or /kea-search. |
| Results Container Selector | The stable CSS selector of the element that receives the rendered product grid, for example #js-product-list or #search-results. |
Use selectors that exist in the initial page template. Avoid selectors created only after another JavaScript component has already rendered.
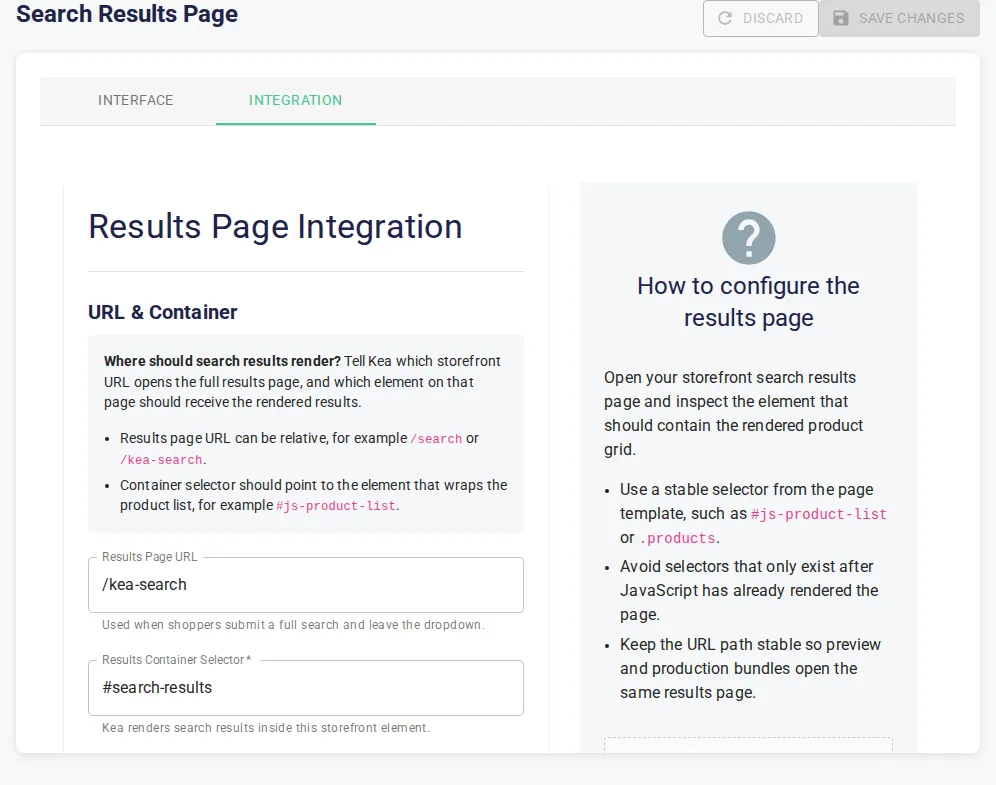
This screenshot shows the Integration sub-tab where you connect the full results page URL and the storefront container selector.
How to change Results Page settings
Section titled “How to change Results Page settings”- Open UI Settings -> Search Results Page.
- Use Interface for visible layout and state-preview settings.
- Use Integration for the URL and container selector.
- Click Save Changes.
- Wait for the preview build dialog to finish.
- Open storefront preview and submit a real query.
- Verify the results page on desktop and mobile.
- Publish only after preview shows the expected page.
A Results Page save changes the preview configuration first. Production changes only after you publish.
How to verify the storefront page
Section titled “How to verify the storefront page”Use storefront preview after saving:
- Submit a query from the storefront search input.
- Confirm the configured results URL opens.
- Confirm product tiles render inside the configured container.
- Apply and clear at least one filter.
- Change sorting if sorting is present.
- Click a product and confirm the product URL is correct.
- Test desktop and mobile breakpoints.
- Test a no-results query and confirm the empty state is acceptable.
See Verify in Preview (PrestaShop) for the full pre-go-live checklist.
Use the right page for related changes
Section titled “Use the right page for related changes”The Results Page page does not control:
- search experience mode or live search on/off; use Integration;
- product-card markup; use Card Template;
- theme colors; use Theme;
- synonyms, fields, and filters; use Search Management;
- catalog indexing; use Catalog Indexing.
Do not change synonyms or field priorities for a layout problem. Use those only when the returned products or ranking are wrong.