PrestaShop User Guide
Kea Labs - Visual Discovery & Smart Search
Section titled “Kea Labs - Visual Discovery & Smart Search”PrestaShop User Guide
This page explains how to install, preview, configure and troubleshoot the Kea Labs module for PrestaShop.
Introduction
Section titled “Introduction”Overview
Section titled “Overview”Kea Labs: Visual Discovery & Smart Search is a hybrid search module for PrestaShop that allows customers to search your catalog using text, image, or voice-individually or in combination.
The module replaces the default PrestaShop search with a unified interface that supports multiple input methods, instant filtering, and relevant results based on product data. It works out of the box with minimal setup and adapts to your store’s structure automatically.
Learn more…
Pre-requisites
Section titled “Pre-requisites”- The extension for Prestashop is free, but you need a Kea Labs account to use it.
- A new account gets automatically created on installation, or you can log in to an existing account.
- No cards required for a free 14-day trial.
Getting help
Section titled “Getting help”If you need assistance with installation, customization, or any other questions, our team is ready to help:
- Via the built-in chat in the plugin dashboard
- Through the chat on our website https://kealabs.com
- Or by email at support@kealabs.com
We respond quickly and will guide you through setup or any specific requirements you may have.
Installation
Section titled “Installation”Kea Labs Smart Search can be installed in two ways.
Install via PrestaShop Admin (Recommended)
Section titled “Install via PrestaShop Admin (Recommended)”- Log in to your PrestaShop Back Office.
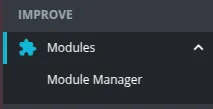
- Go to Modules → Module Manager.
- Click Upload a module (top-right).

- In the popup, drag & drop the
.zipof the module (or browse and select).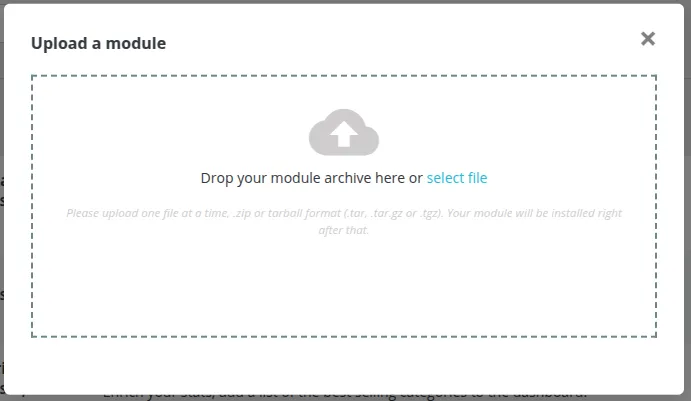
- After upload, PrestaShop installs the module automatically.
- Click Configure to proceed with setup.

If you close the popup, you can always find the module later under Module Manager by searching for “Kea Labs”.
Install via FTP
Section titled “Install via FTP”- Download the
.ziparchive and extract it locally. - Upload the extracted folder (e.g.,
kealabs_search/) via FTP to/modules/of your PrestaShop. - In Back Office go to Modules → Module Catalog.
- Search for “Kea Labs” and click Install.


- After installation, click Configure.


How to Find the Module
Section titled “How to Find the Module”After installation you can click Configure right from the confirmation popup.
If you closed it or want to return later:
- Open Modules → Module Manager.
- Use the search at the top and type Kea Labs.
- In results, click Configure next to “Kea Labs: Visual Discovery & Smart Search”.
The application is embedded into the PrestaShop admin page: you can access search & theme settings, dashboard and analytics from a single place.
Wizard
Section titled “Wizard”When you first open the module after installation, an onboarding wizard guides you through initial setup: account authentication, environment selection, search mode, and catalog preparation.
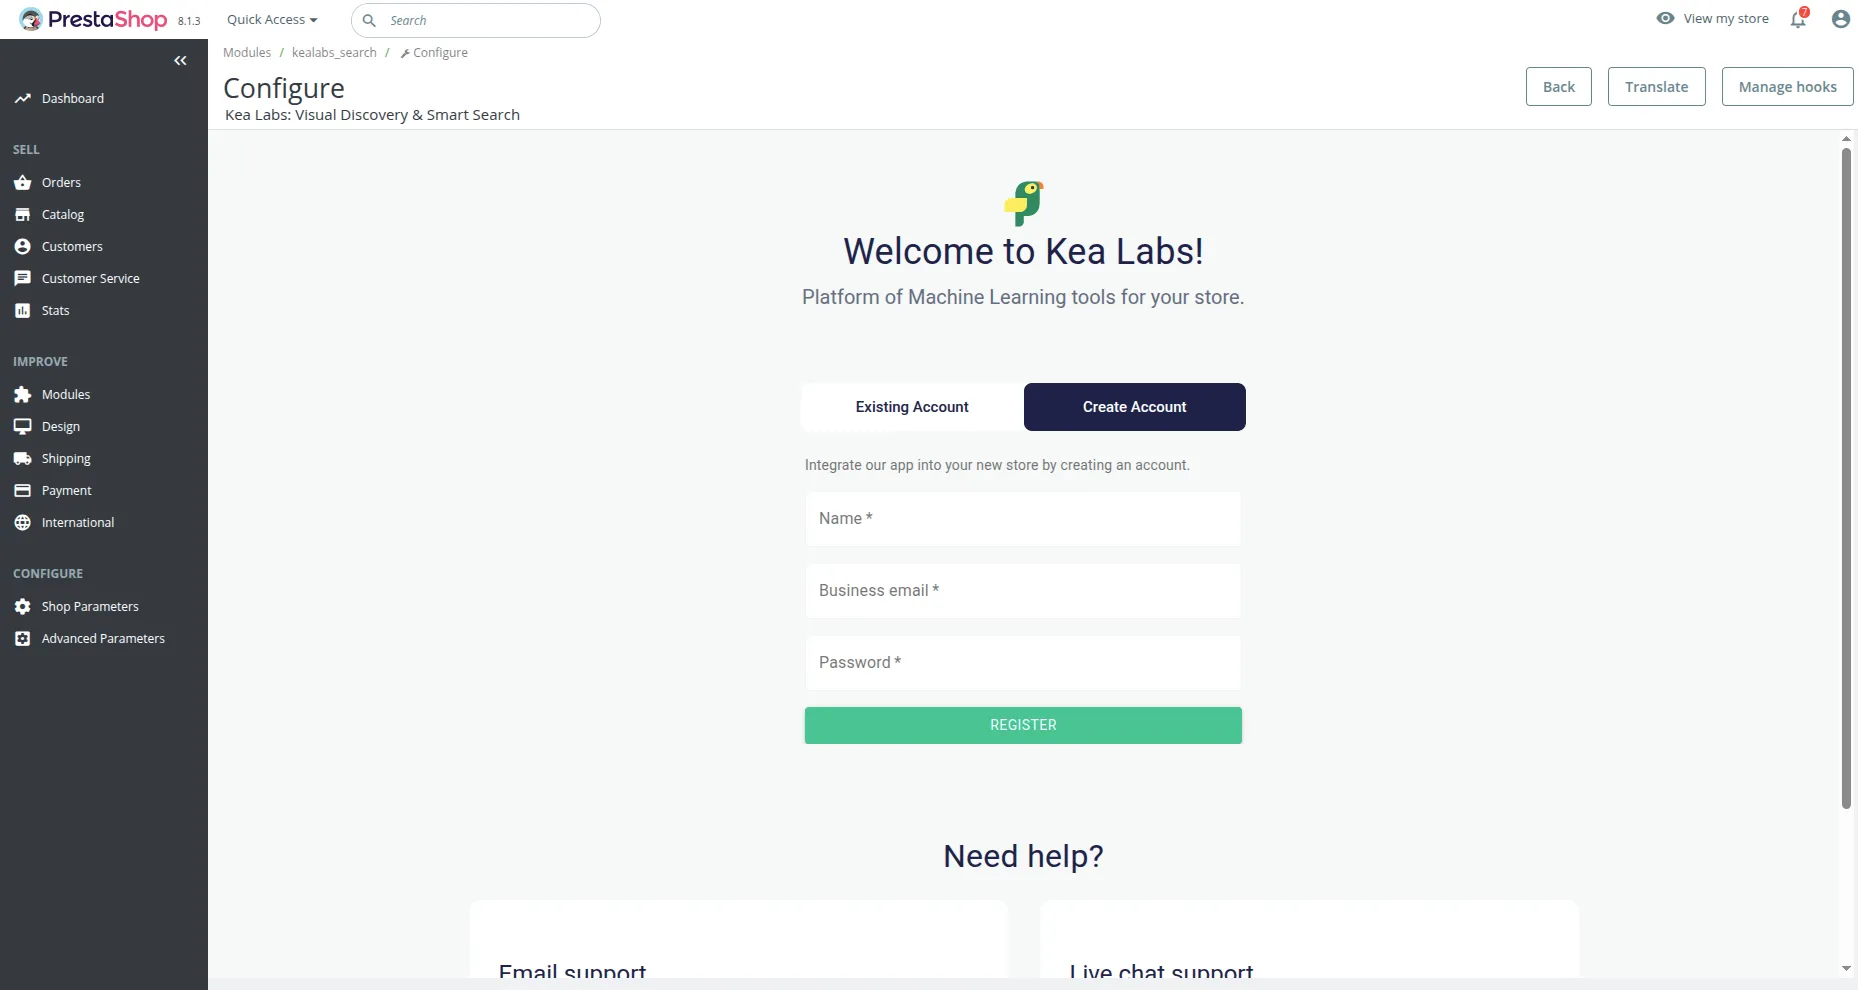
Step 1: Log in or Create an Account
Section titled “Step 1: Log in or Create an Account”- Create a new Kea Labs account (name, business email, password), or
- Log in to an existing account.
- Account recovery (Forgot password) is available.
If you need assistance at any time, use the built-in chat or email support.
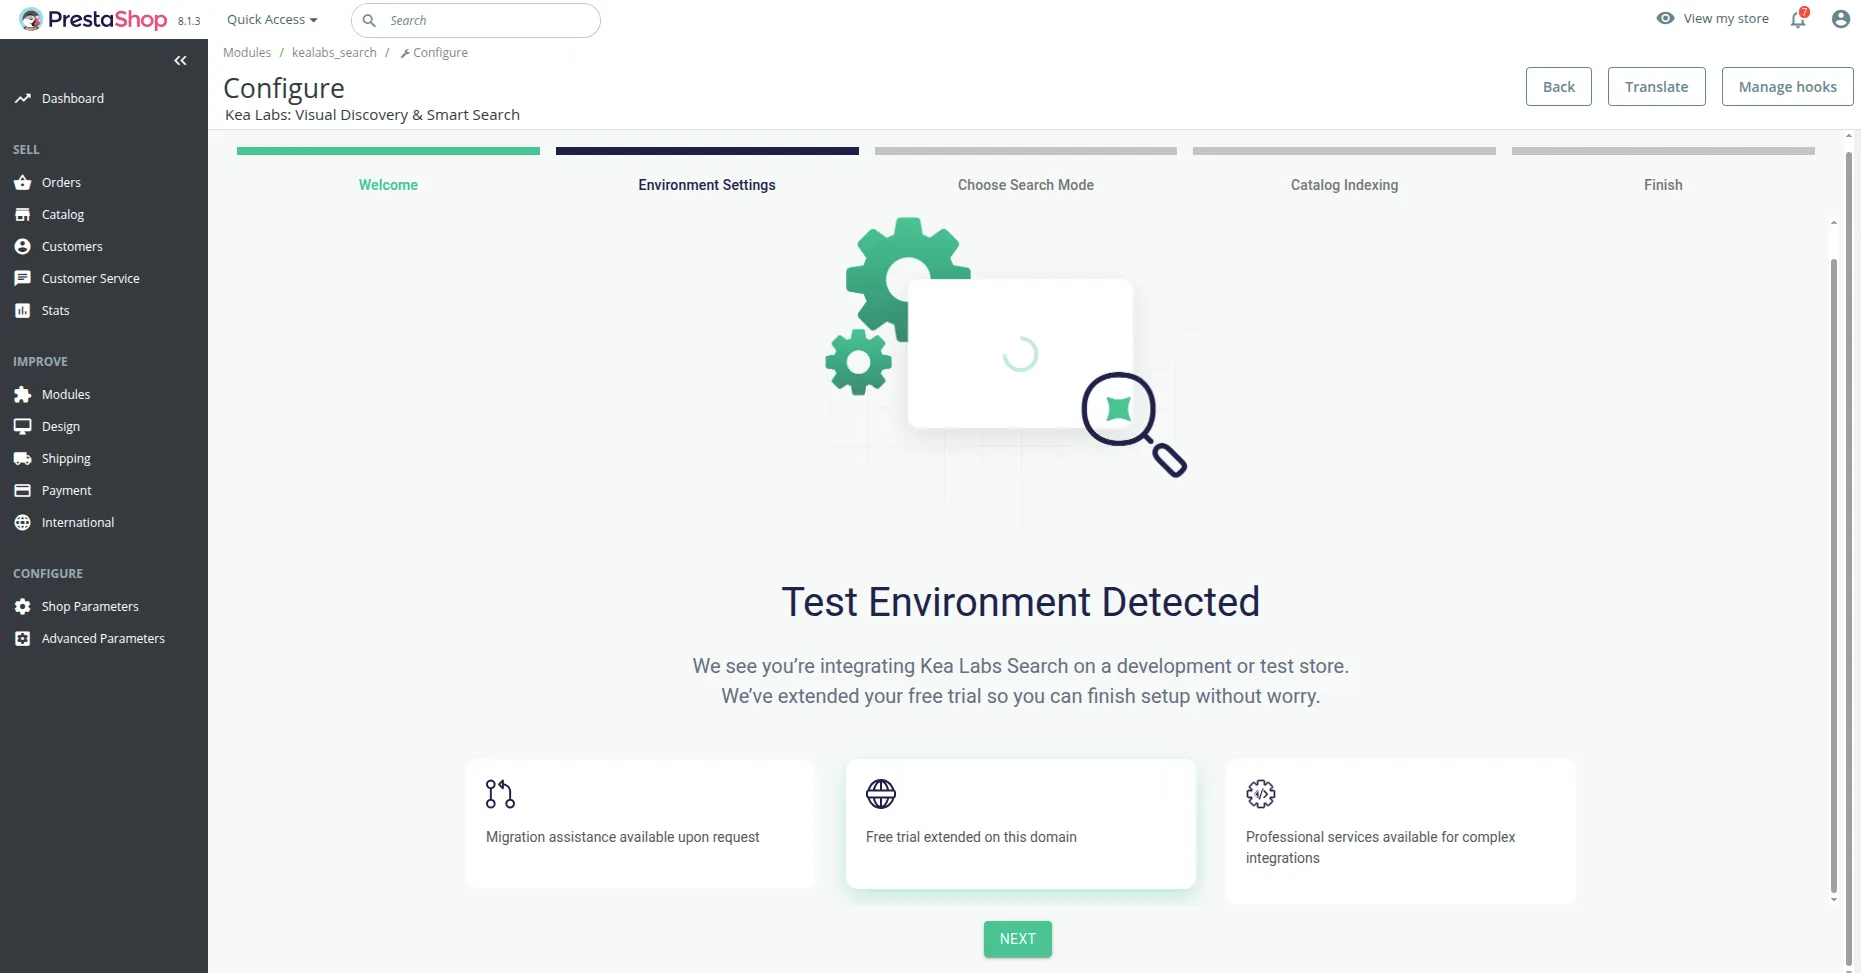
Step 2: Environment Detection
Section titled “Step 2: Environment Detection”The wizard detects whether the current store is production or development/test.
If it’s a test/development environment, we can help with initial configuration and optionally extend the trial for non-production domains.
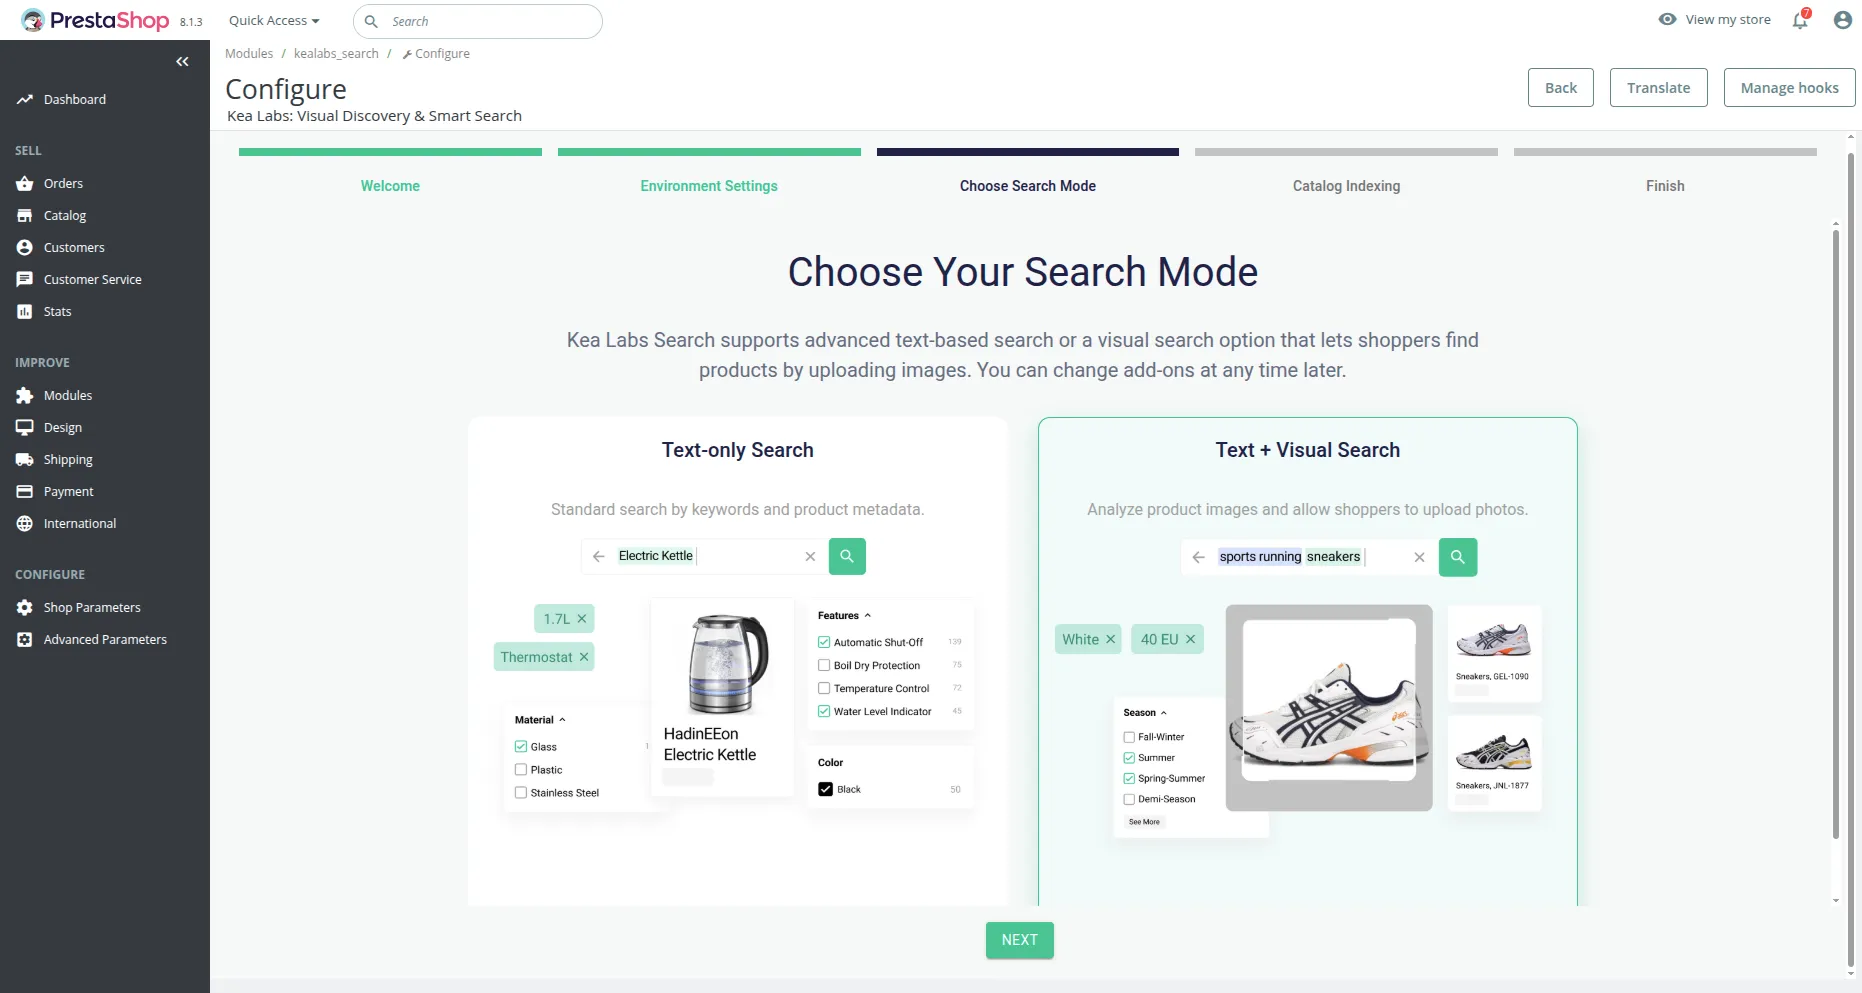
Step 3: Select Search Mode
Section titled “Step 3: Select Search Mode”Choose how your store will use Kea Labs:
- Text Search only - classical full-text search
- Text + Visual Search - combines traditional input with image-based search
Step 4: Catalog Processing
Section titled “Step 4: Catalog Processing”After selecting the mode, Kea Labs prepares your catalog:
- Uploading product data
- Indexing catalog content
- Processing images (if visual search is enabled)
A checklist shows progress with status indicators. You can leave the screen open or return later - processing will continue.
Note: First-time image processing may take longer. If you notice delays, contact us - we’ll check the status and assist.

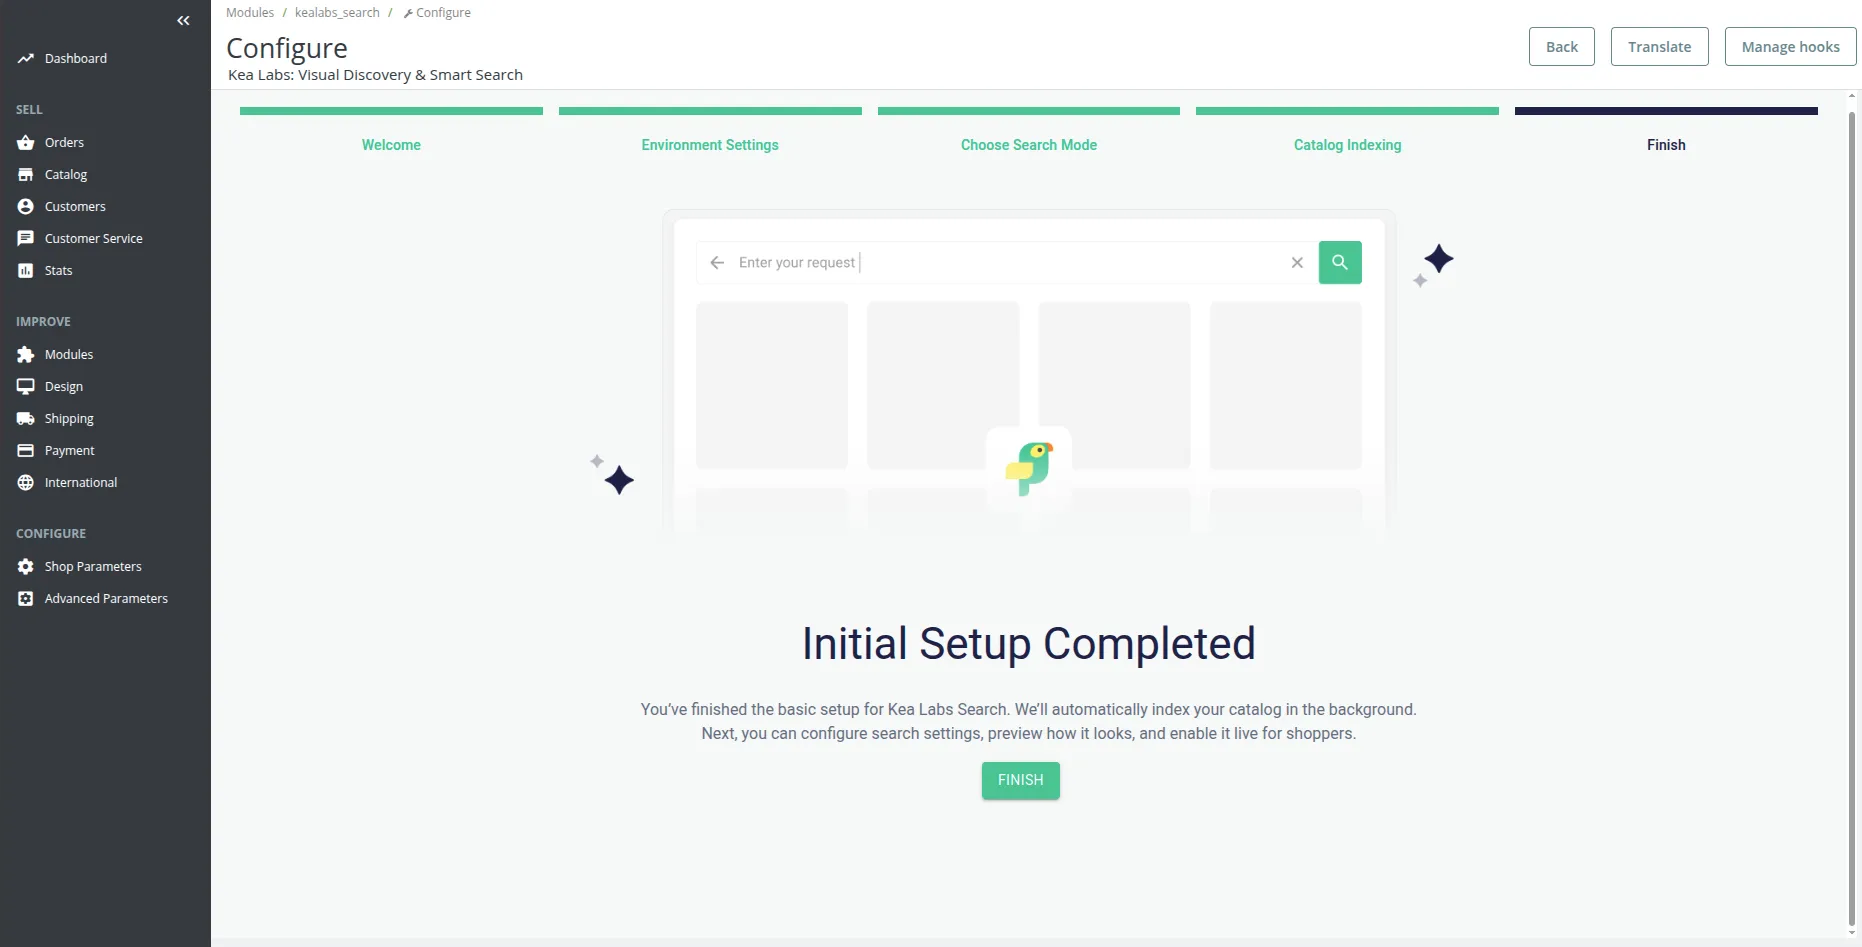
Step 5: Finish
Section titled “Step 5: Finish”Click Next to complete onboarding. You’ll be redirected to the Dashboard to preview and configure search.
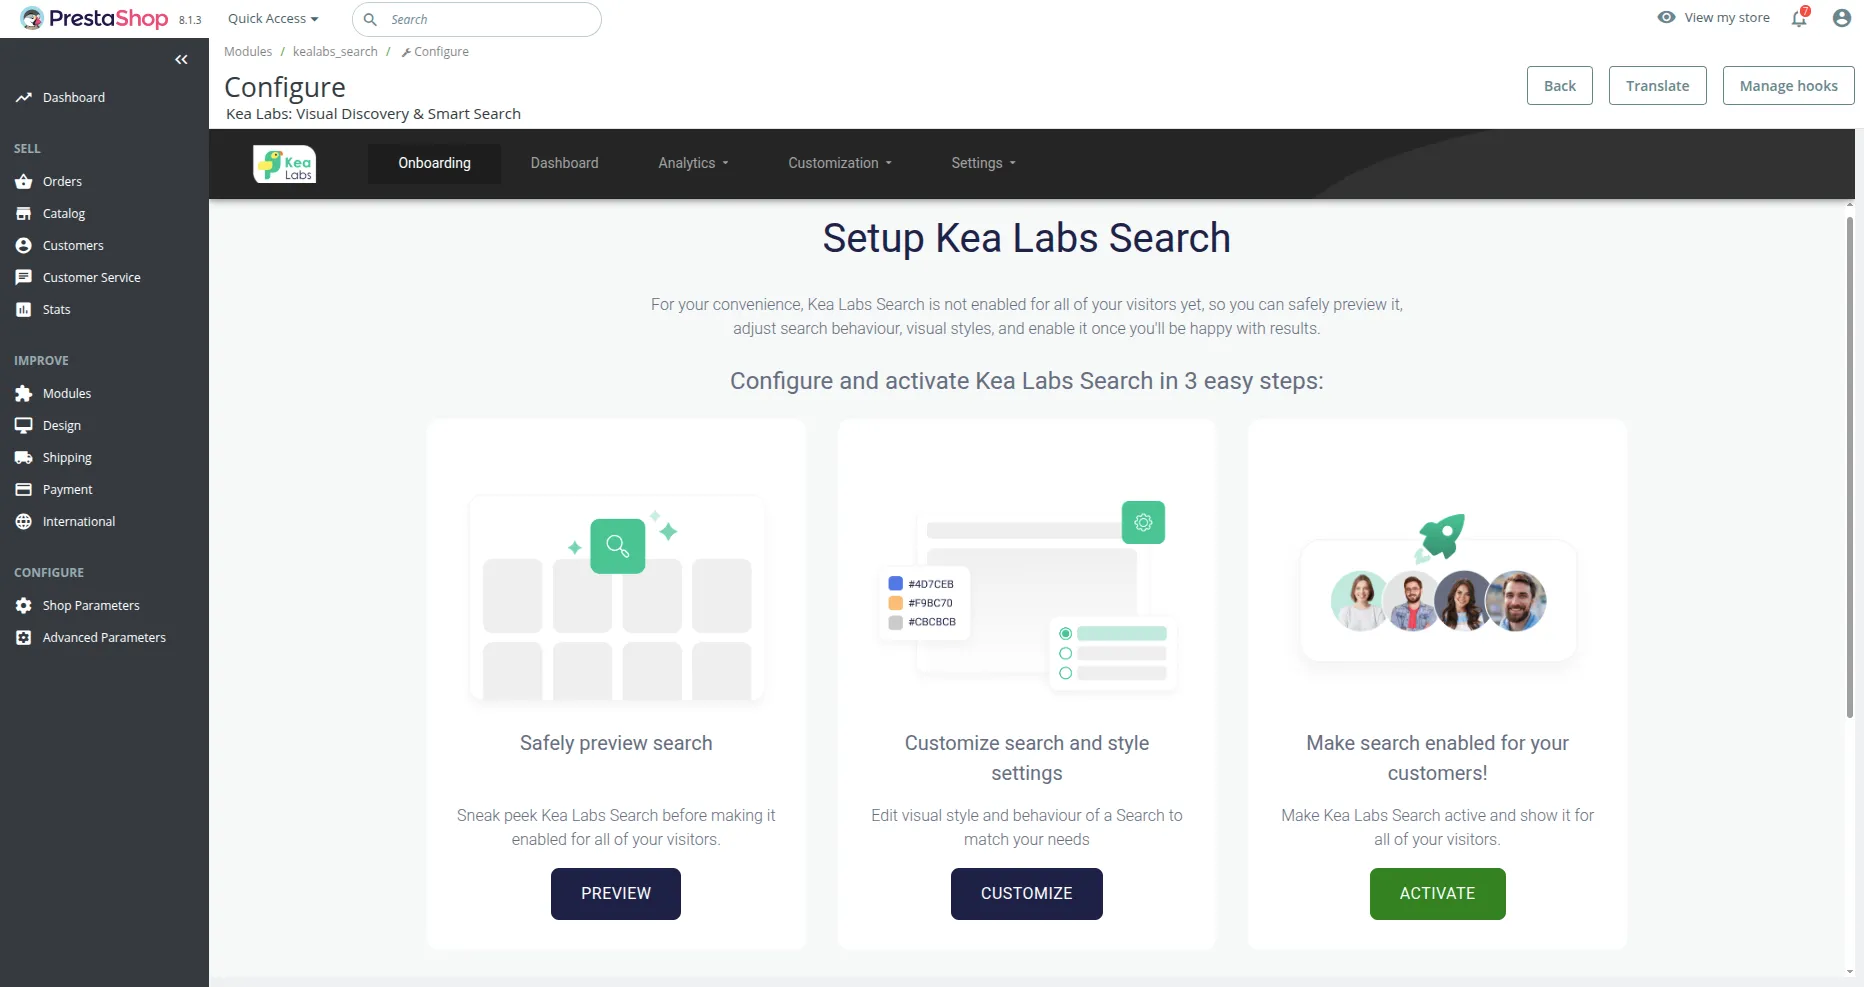
Onboarding
Section titled “Onboarding”Search is not enabled for all visitors by default. This lets you safely preview integration, adjust UI or search settings, and test.
The onboarding walks through three steps:
- Safely preview the search before switching it on
- Adjust behavior and styles
- Enable search for customers
Initial processing
Section titled “Initial processing”Right after installation, Kea Labs starts processing your catalog.
Timing depends on the store size, but usually it’s a matter of minutes.
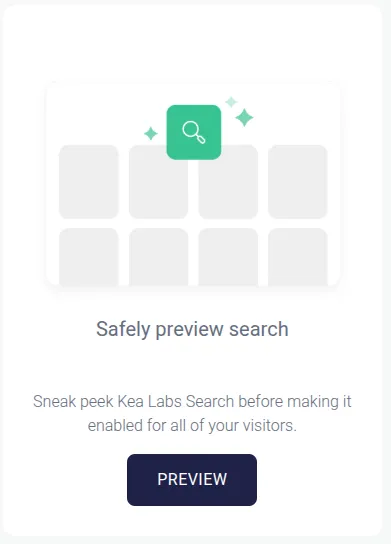
Preview Mode
Section titled “Preview Mode”You can safely preview integration before enabling Search for everyone.
- Click Preview in the dashboard to enable the preview tool for yourself, or
- Open your website with
?kea-preview=true
Example:https://example.com?kea-preview=true
To stop preview mode:
- Click the Stop preview button in the preview panel, or
- Add
?kea-preview=falseto the URL.
If you don’t see Search working, your theme might be specific and require assistance. Contact our team - we’ll help integrate it.
Integration with a Store
Section titled “Integration with a Store”The plugin tries to integrate automatically, but themes differ and auto-integration may fail if:
- The site has no search form/input
- Search elements have non-standard IDs/submit targets
- Another search plugin/service is installed
We recommend not patching the theme manually. Just contact us - we’ll identify the issue and make required changes for a proper integration.
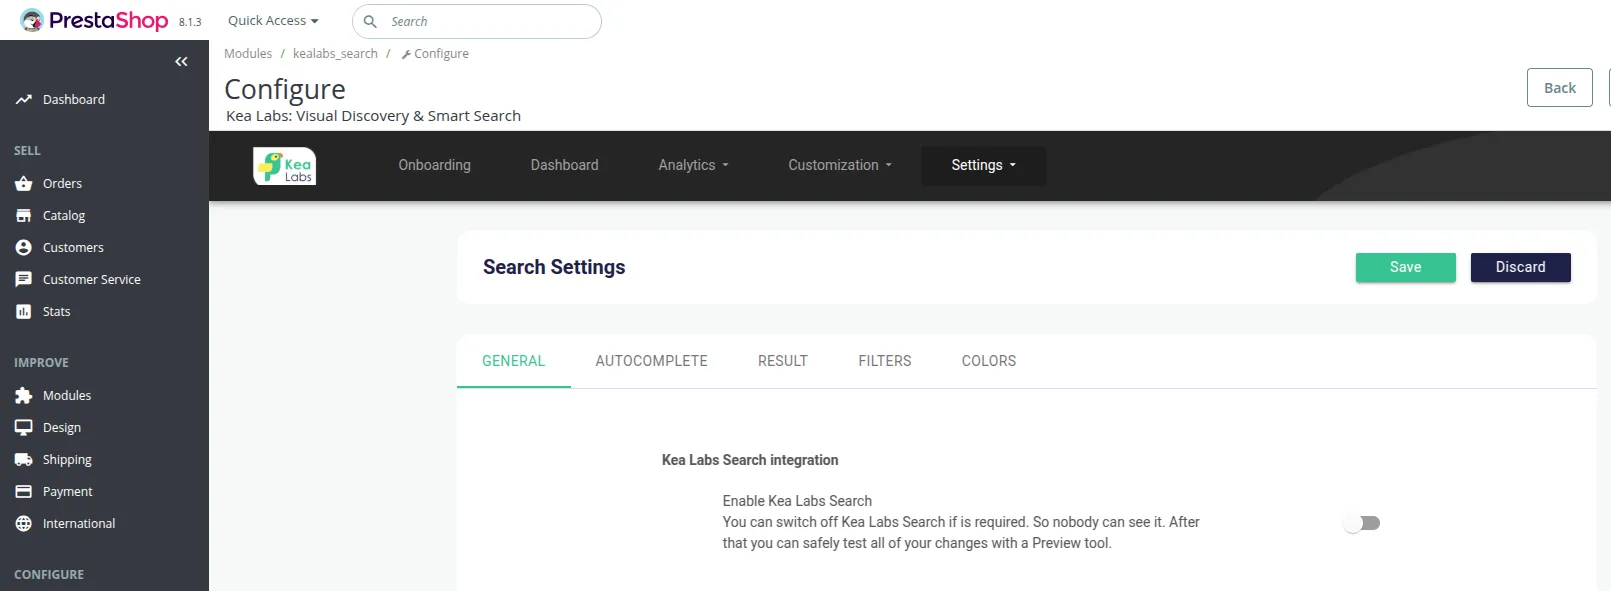
Enabling the Search
Section titled “Enabling the Search”The extension is disabled by default. Enable it during onboarding,

or anytime on the Settings → General tab.
Configuration
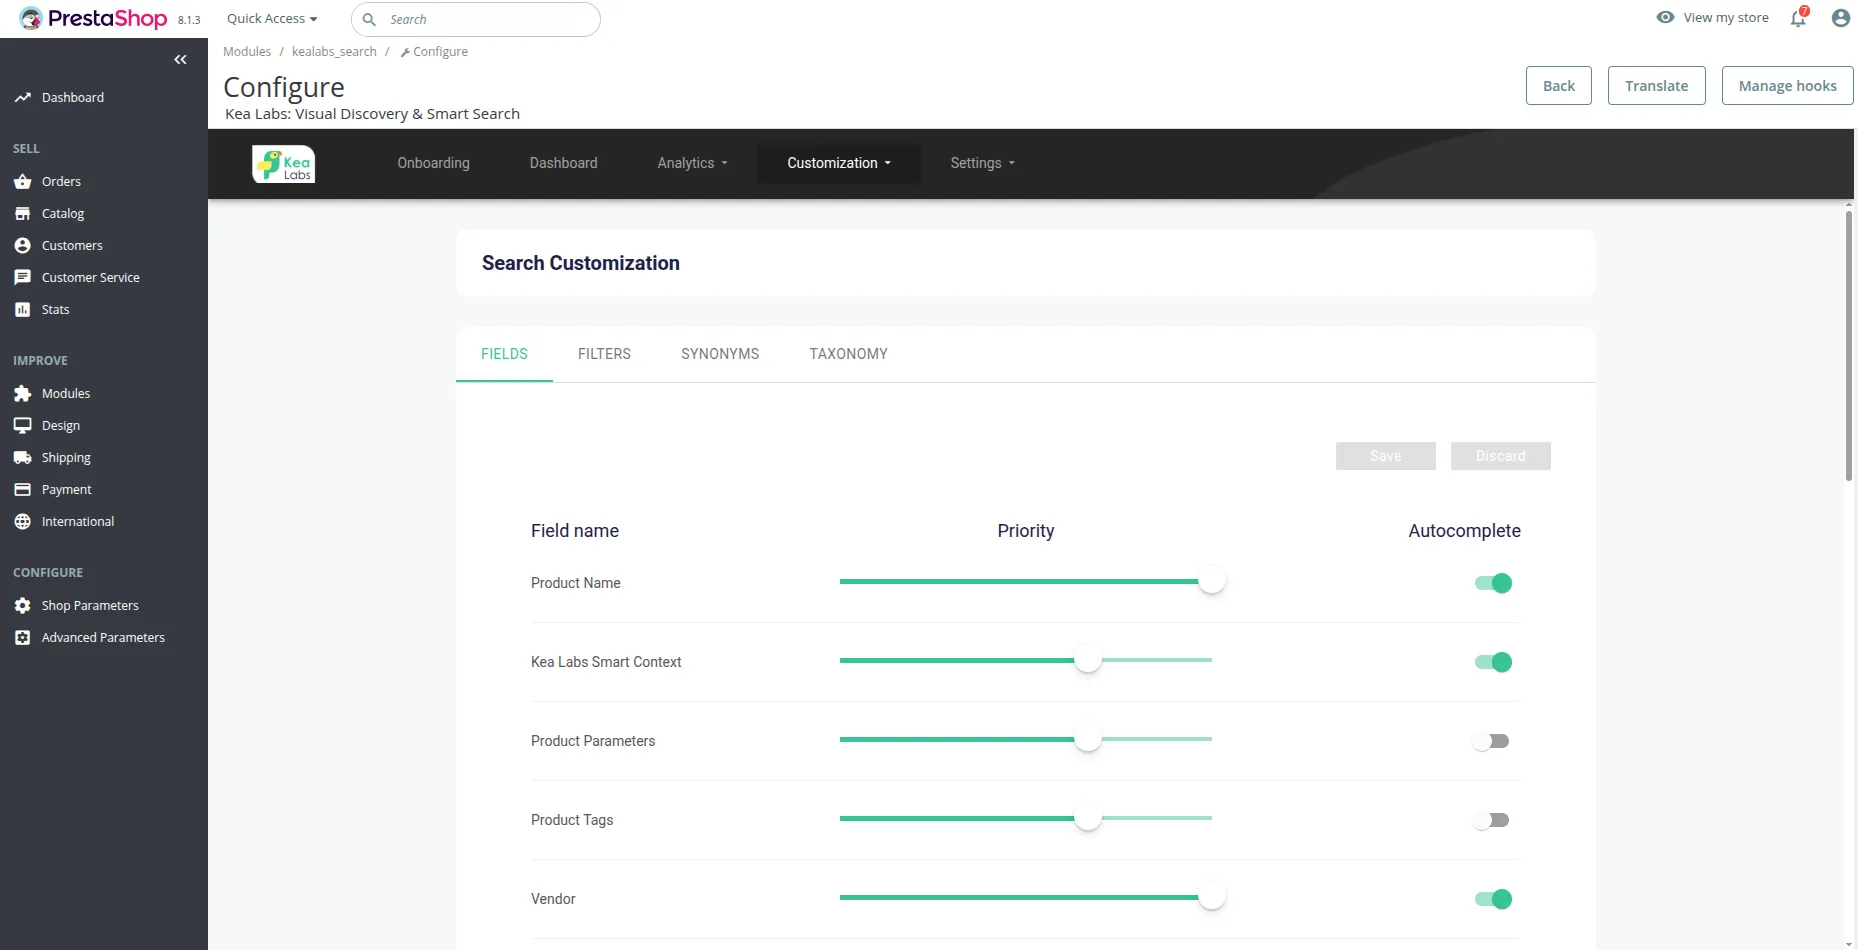
Section titled “Configuration”Search Fields
Section titled “Search Fields”Under Customization you can configure how search should handle different product fields:
- Priorities for name, description, etc.
- Which fields support autocomplete
- What to ignore
If search misses data or returns too broad results, just contact us - we’ll help tune it.
Search Settings
Section titled “Search Settings”In Settings you can customize the autocomplete widget and the search results page.
Navigate through tabs to change what you need.

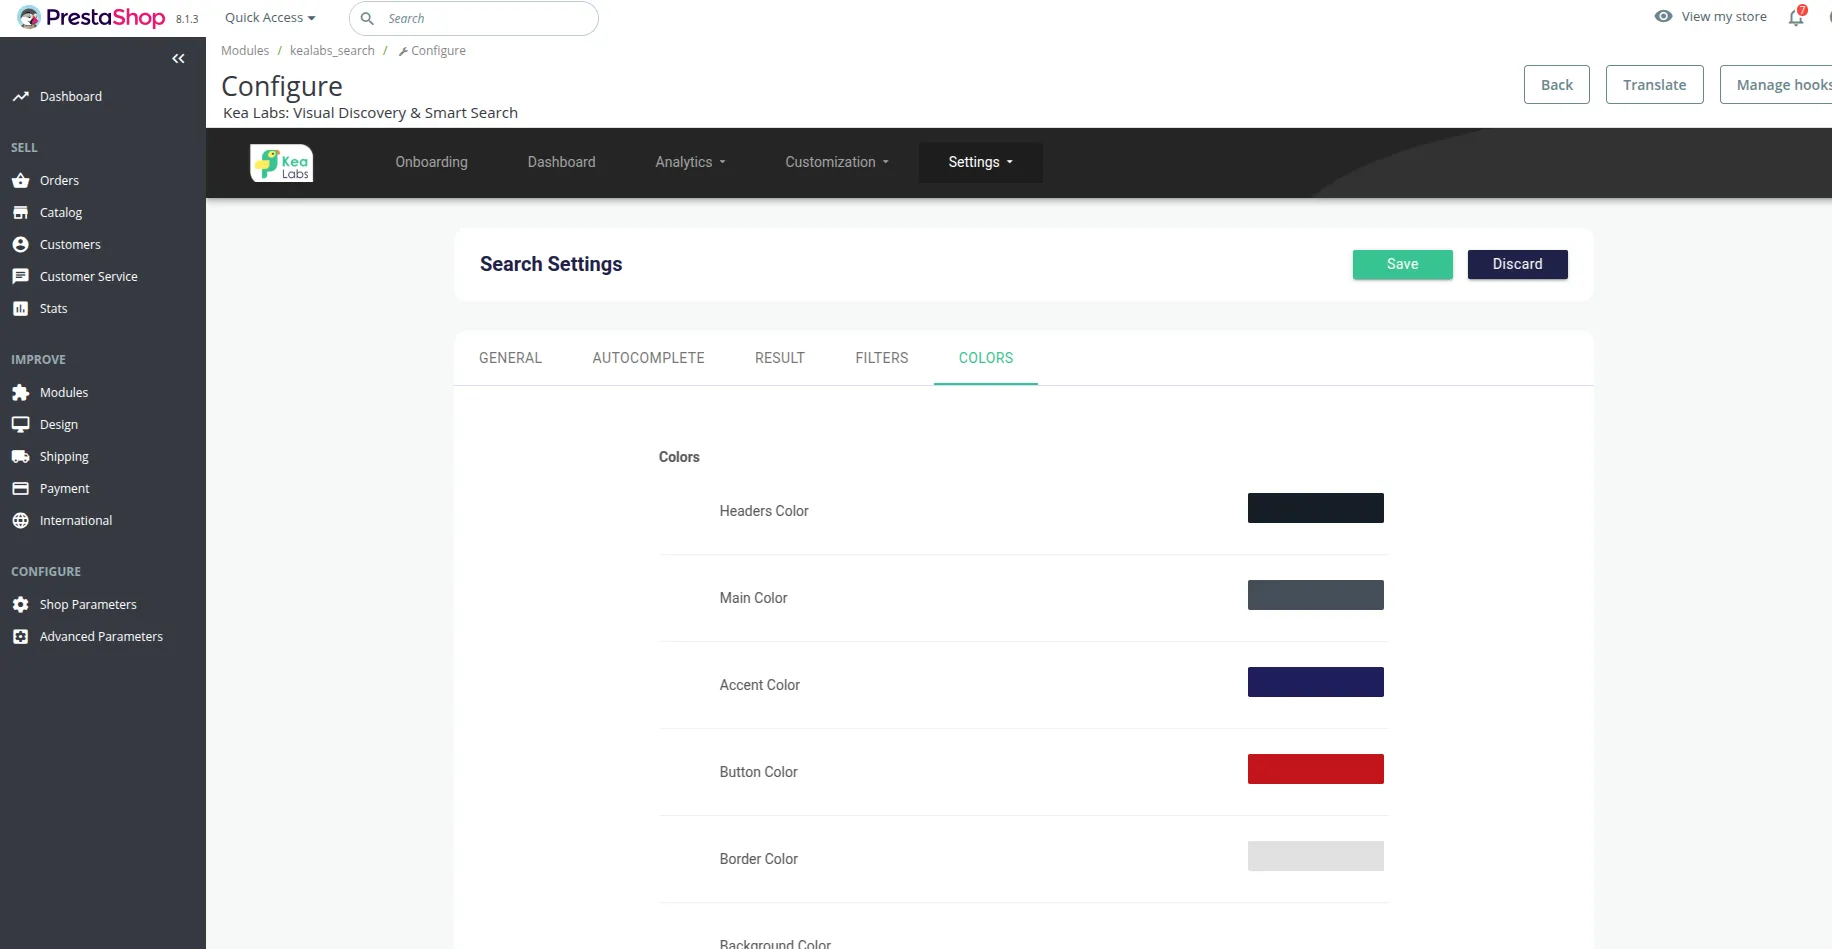
Theme customization
Section titled “Theme customization”Configure colors to match your store theme: Settings → Theme.
For advanced customization (templates, labels, buttons), contact support - UI is flexible and can use your custom CSS and templates.
Troubleshooting
Section titled “Troubleshooting”We recommend contacting our team in case of any issues or questions - we’ll help faster.
Search doesn’t appear
Section titled “Search doesn’t appear”- The extension is disabled by default - complete onboarding and integration.
- If it’s still disabled, use Preview first.
- If search still doesn’t appear, the theme integration may need updates (e.g., search form/input not found). Contact us and we’ll fix it.
Images are not displayed in Search
Section titled “Images are not displayed in Search”Often the image cache in your store was cleared. Click Re-index to force Kea Labs to synchronize the catalog and rebuild your search index.
Search shows outdated prices or doesn’t show new products
Section titled “Search shows outdated prices or doesn’t show new products”By default Kea Labs synchronizes the catalog once a day.
If you change prices/availability more often, we’ll adjust the sync frequency or method. Contact our team and we’ll set it up.